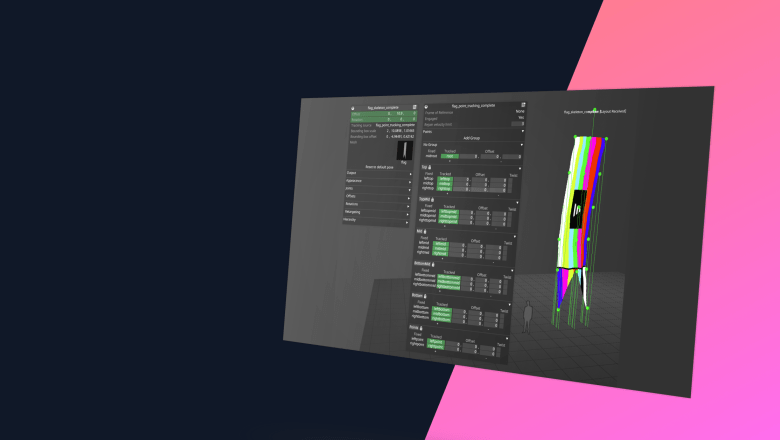
Inside Designer: How to use the Skinned Mesh workflow for projecting onto moving surfaces
Immersive Experiences
Software

Our Inside Designer series spotlights the latest cutting-edge features introduced in our Designer software to enhance the experience of programming with Disguise. Below, we are exploring the Skinned Mesh workflow, built to enable a whole range of creative possibilities for projecting onto moving surfaces.
As we witness the continued rise of location-based experiences, projection mapping proves itself a tried and trusted technique to output content onto complex geometric surfaces, delivering impactful visual effects. It is a core functionality of our Designer software, enabling countless creative use cases from product campaigns to memorable cultural events.
Thanks to our user community constantly influencing our development efforts, we are able to come up with new and innovative features within Designer’s projection mapping toolset. A recent example is the development of a workflow for creating deformable meshes that can be mapped onto moving surfaces, enabling complex projections more efficiently.
Introducing the Skinned Mesh Workflow
The new skinned mesh workflow in Designer represents a significant leap forward from our previous static meshes. This feature leverages the skeleton object—introduced in Designer last year—to create a deformable and flexible mesh.
A skeleton consists of a rigged structure of bones, which is either provided by a tracking source or imported from a rigged FBX mesh. These bones can be moved to deform a skinned mesh within Designer.
For instance, if we’d attempt a projection onto a moving surface such as a piece of fabric, we can attach tracking markers onto points on the fabric's surface, and we can then use that tracked point data to mimic the motion of the fabric.
As the skeleton moves, the mesh deforms accordingly, reflecting the natural motion of the fabric. This allows for more realistic and intricate projections on moving surfaces. It can also improve efficiency in cases with large numbers of moving, rigid screens. Rather than having to create the screens individually in Designer, we can create a skinned mesh to render to them from a single canvas.
How to Get Started with Skinned Meshes
- Find or create an FBX file which contains a single rigged mesh, and copy this into the project’s objects/Mesh folder.
- Create a new skeleton and select the FBX mesh in the skeleton’s mesh field.
- Create a new projection surface and select the mesh named after the skeleton (not the original FBX mesh).
- Try moving the skeleton’s bones using the manual posing controls in the skeleton editor. The mesh should deform in both the skeleton and the projection surface.
- To align the projection surface exactly with the skeleton, add the projection surface as a child of the skeleton and set the surface’s offset and rotation to zero.
- If you want to hide the skeleton mesh, set the Display mode under Appearance to Hidden.
In order to adjust the movement of your skinned mesh, you will need to set up a skeletal tracking source to control your skeleton. Check our user guide for step-by-step instructions here.
Future Enhancements
We are now excited to explore the potential of Skinned Meshes in real-life use cases and will continue to work on improving it with each application. Future developments may include integrating different motion capture systems—both with markers and markerless—to retarget the FBX mesh to a tracked individual.
We encourage our users to bring us more use cases as each unique scenario helps us refine our tools and discover new control methods tailored to individual needs. Your feedback is invaluable in pushing the boundaries of what our software can achieve.
Skinned Mesh is available from Designer r27.6 upwards. Download it now from your Disguise Cloud dashboard or from our downloads hub here.