12 Tips to Mastering Virtual Production

Whether you’re thinking about immersing yourself into the world of virtual production (VP), or are a seasoned pro ready to take your solution to the next level, discover the 12 essential ways to enhance your VP experience.
1.Don’t cast light on the LED wall
Lighting can make or break the overall visual impact of a shot. When casting light directly on the LED wall, it can cause unwanted light spill—which can compromise the visual integrity of tiles and the wall.
Your LED wall can function as your fill lighting, with your key lighting focused on your talent. Position your talent far enough away from the wall, and focus the lighting on them or the practical set instead—as positioning them too close to the wall will cause your lighting to wash out the LED.
2. Don’t focus on the LED wall
When working with LED walls, it is likely to run into a situation known as Moiré—a visual pattern or interference that occurs when two regular grids or repetitive patterns overlap or are superimposed, creating an unintended and often unwanted optical effect. It manifests as a series of wavy lines, or irregular patterns that can distort the clarity and detail of the image.
By focusing on the subjects and elements in front of the LED wall, you can ensure that the LED itself stays out of focus, thereby avoiding Moiré patterns. Talent placement and other elements in front of the LED depends on the size of the volume. Disguise’s Virtual Art Department will collaborate with users during the pre-visualisation stage to ensure everything is perfectly positioned in relation to the wall.
3. Triple-check your colour space pipeline
To maximise colour range, it is crucial to maintain the same colour space throughout the entire pipeline. This consistency ensures that you are utilising the full spectrum of available colours.
Similarly to a box of crayons, if an LED can represent a box of 64 crayons, then there would be no need to limit it to a box of only 32 crayons in your camera. Thoroughly validate your colour space pipeline by rigorously confirming consistency across all stages to optimise the utilisation of the broadest spectrum of available colours.
4. Triple-check your genlock signals
By genlocking, you will ensure all cameras, recording devices, processes, tracking systems and servers are synchronised—ensuring that video output can switch from source to source without any issues. Triple-checking genlock your genlock signals so that you can be confident about the synchronisation and seamlessness of your final product.
5. Test your content on an LED volume early to identify issues
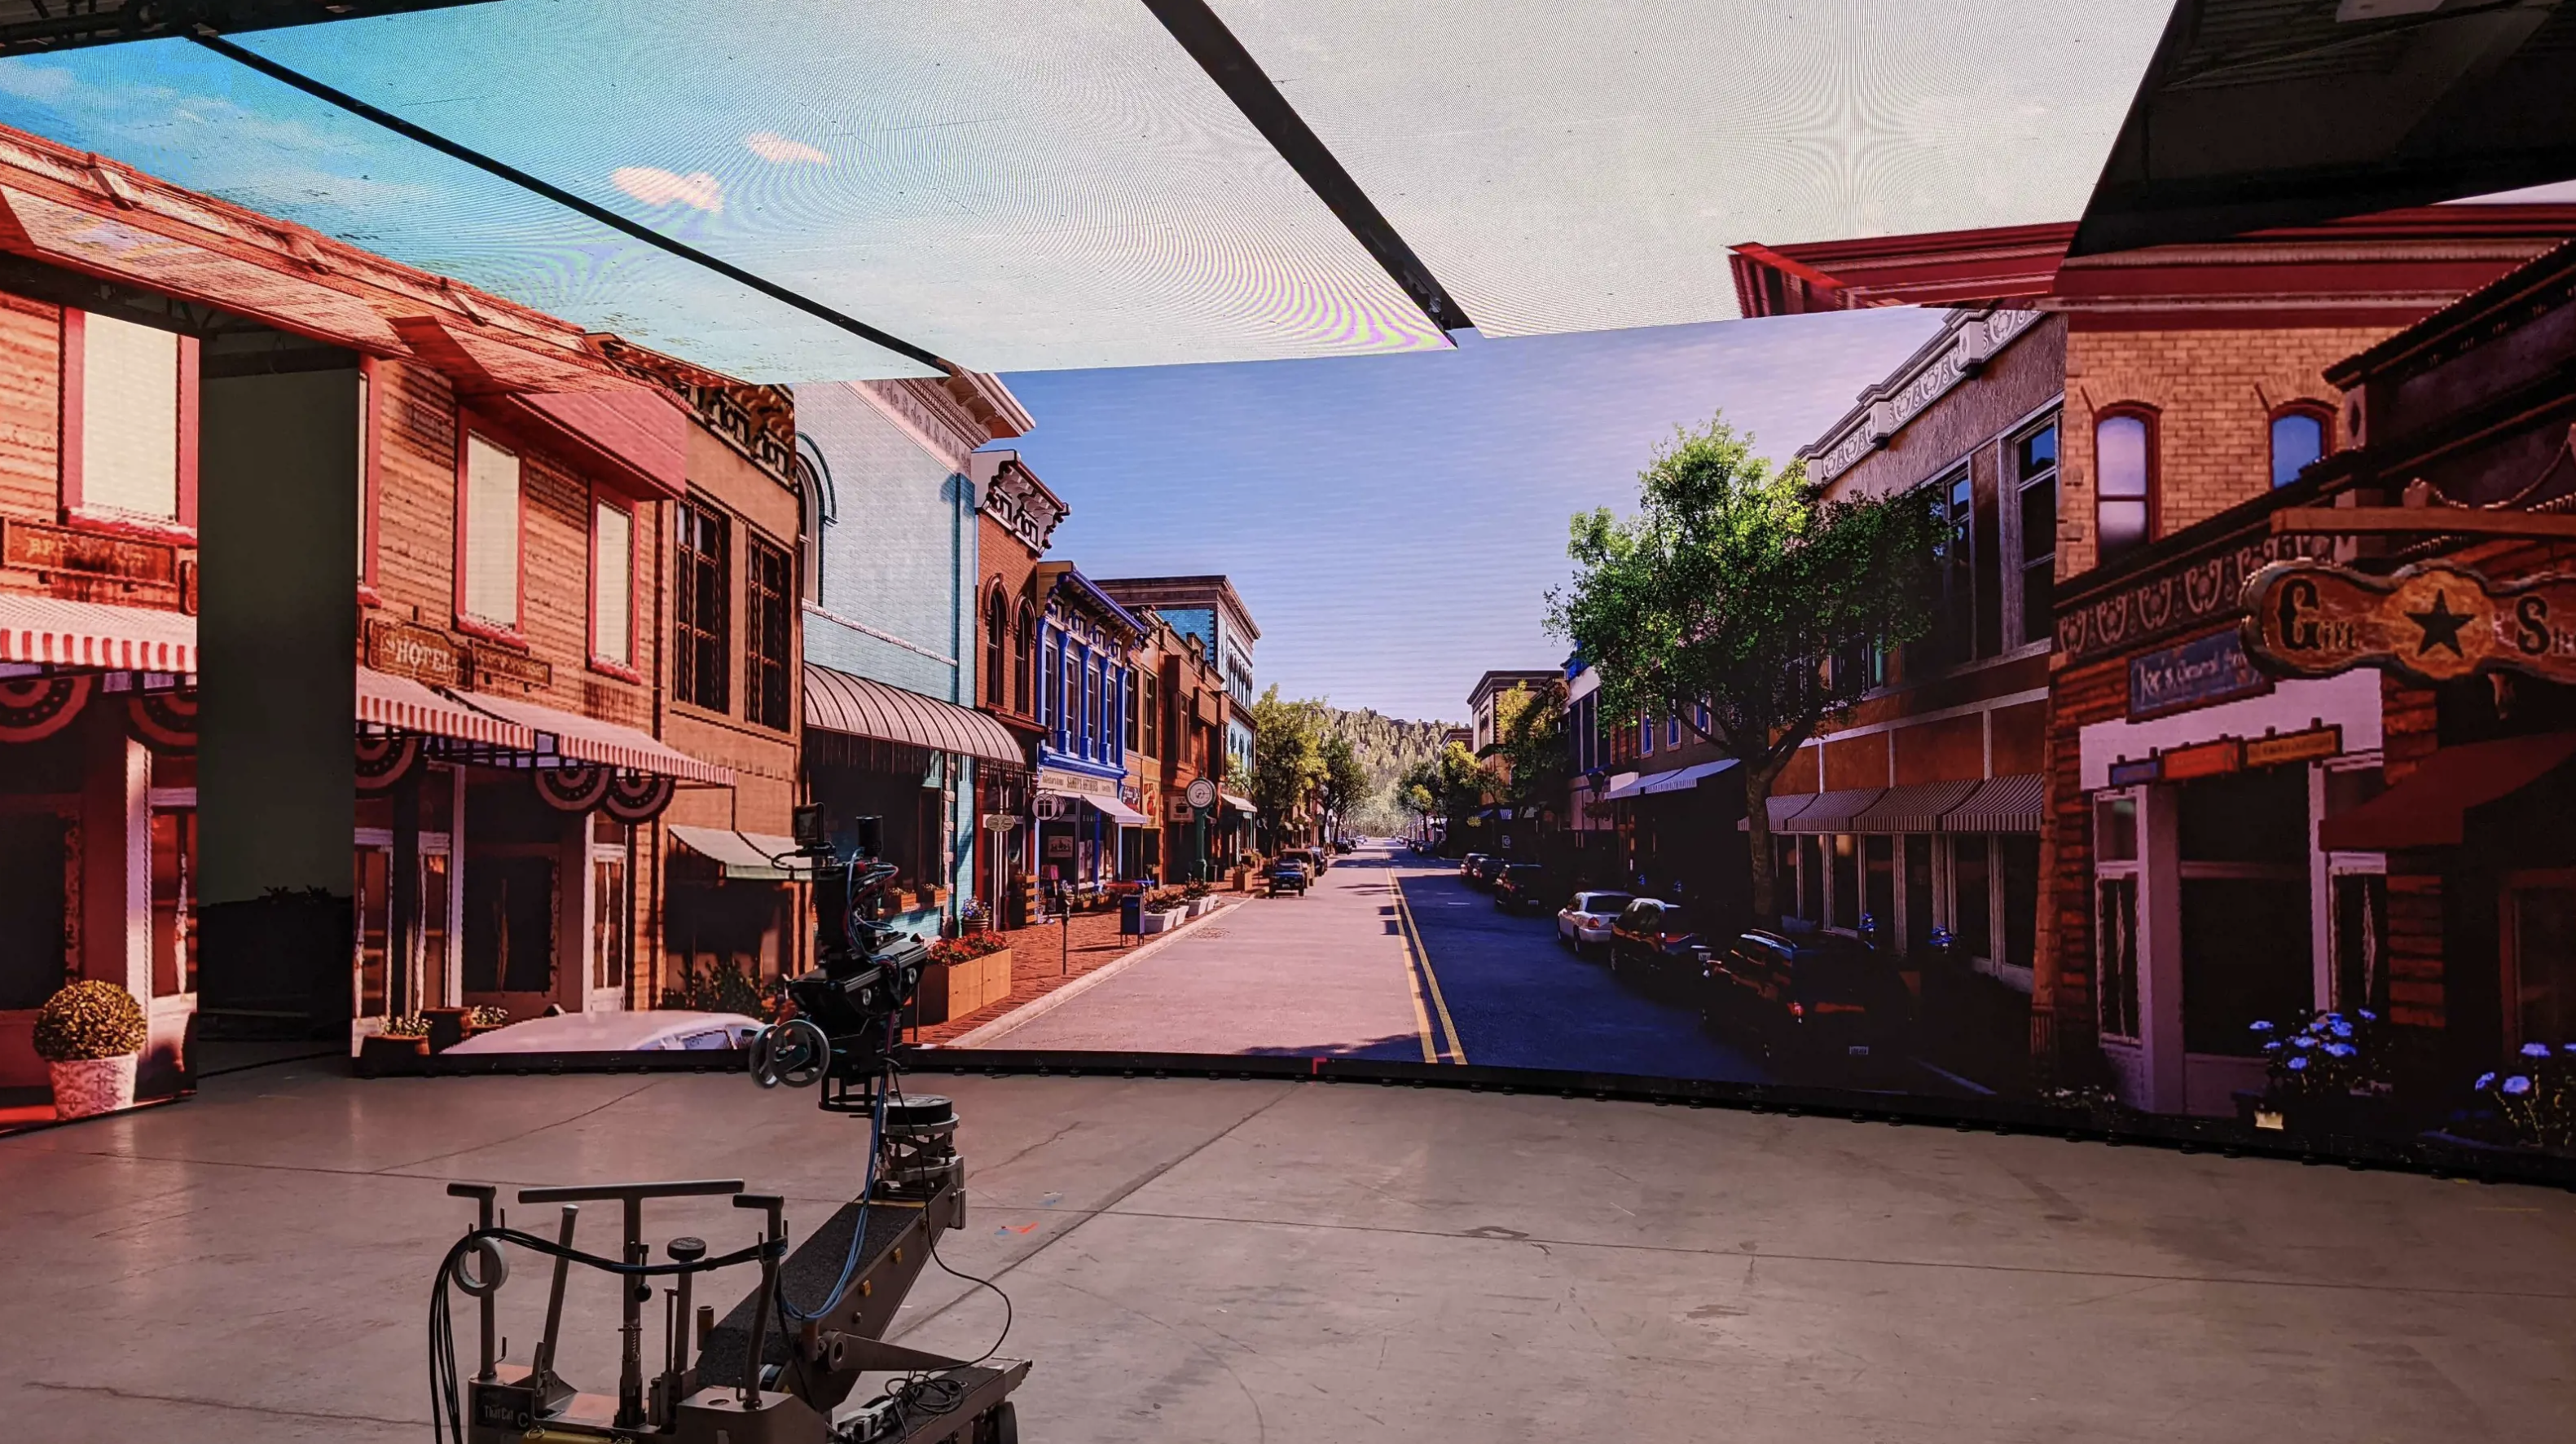
It is essential to test your content on an LED volume as early as possible, in order to detect any possible issues. Early testing mitigates potential challenges, both in terms of visual aesthetics and technical performance. The earlier the process testing is complete, the more time you allow for adjustments and corrections—guaranteeing a polished final product.
Through our creative service team, we seamlessly blend creativity with technical precision, enabling early testing to deliver the best possible product. Our rigorous testing process focuses on several key aspects: scene performance, identifying bugs or visual anomalies, and ensuring everything looks as expected through the camera. We complete thorough pre-visualisation and technical visualisation before every shoot to guarantee flawless execution on set.

6. Vet your shot list for optimal virtual production integration
Not all shots will benefit from a virtual production workflow. The nature of some shots leaves traditional shooting methods to be the most effective. Before you begin production, it’s important to review your shot list to determine which shots will benefit from virtual production, and which will not.
Filming in a dangerous location or an expensive one, requiring specific lighting set-up or needing to film five different places in one day are common examples where virtual production might be better suited compared to physical location shoots.

7. Don’t overcomplicate your virtual art; assess the need for 3D
Sometimes, a simpler visual approach yields quicker and more cost-effective results, as leveraging different visual techniques allows for creative freedom while maximising efficiency. Don’t overcomplicate your virtual environments—3D isn’t always needed.
Sometimes, 2D plates, or 2.5D, or a blend of 3D and 2D can help you achieve your goals more efficiently and in more cost-effective ways.
8. Pre-visualise your virtual assets from the very beginning of pre-production
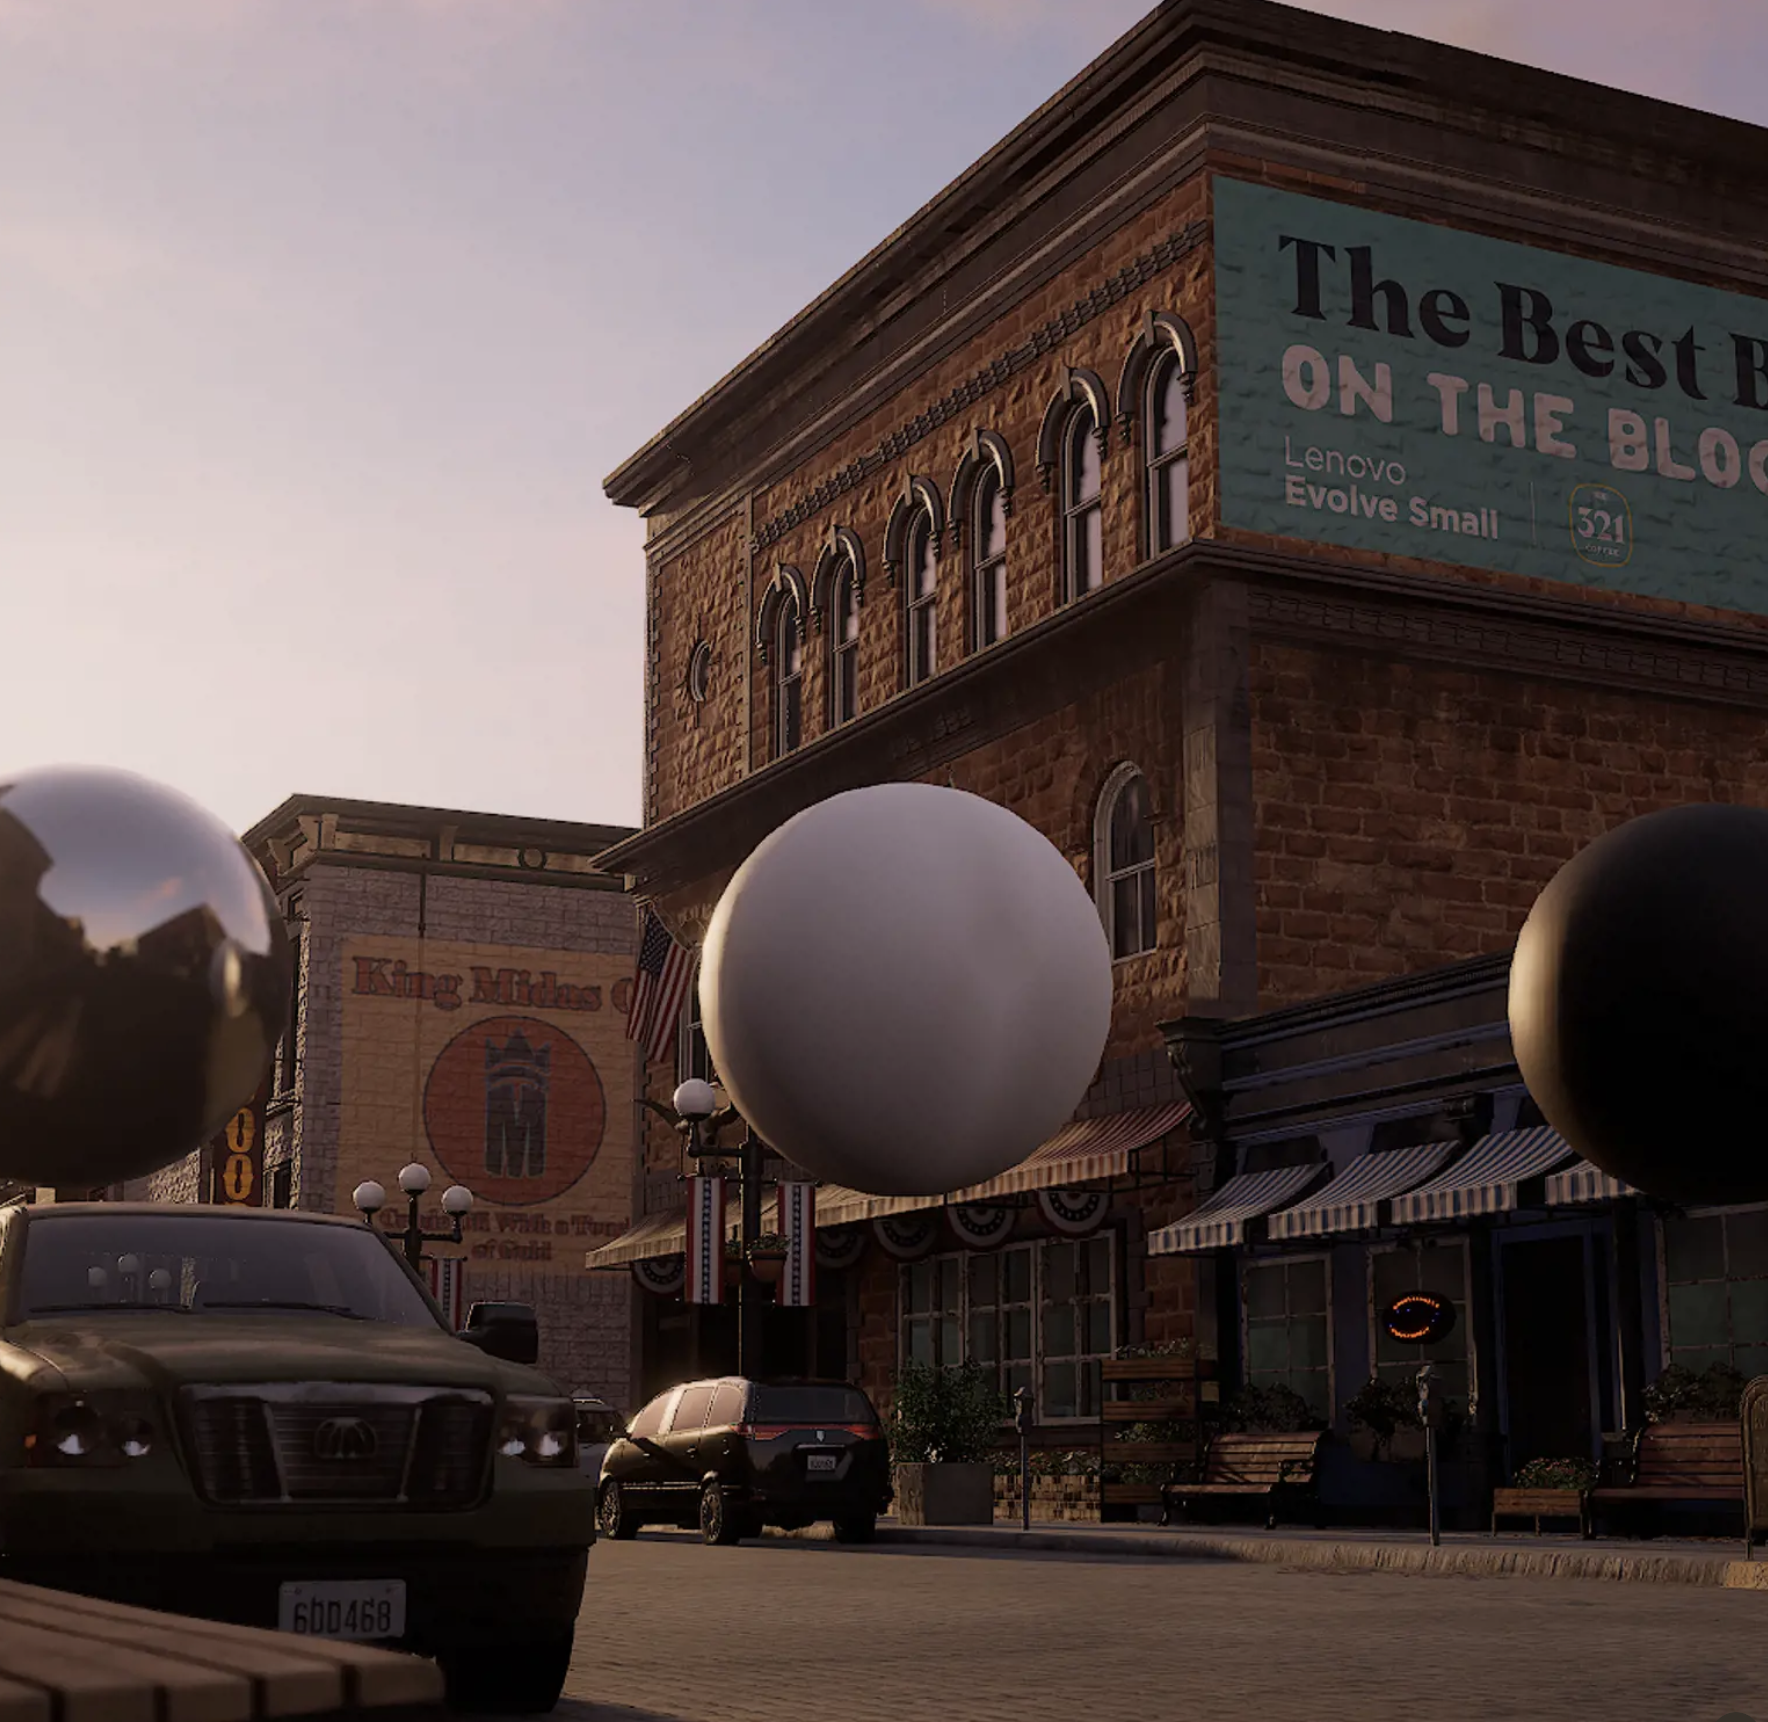
Early visualisation facilitates better decision-making and alignment with the overall creative vision. By visualising your content from the very beginning stages of pre-production, you can enhance the decision-making process and ensure alignment with the overall creative vision. This proactive approach allows for a more thorough exploration of ideas, the identification of potential challenges, and the implementation of strategic solutions to elevate the quality and impact of your final product, while getting everyone on the same page.
Our Virtual Art Department collaborates closely with the director and director of photography of each project, to meticulously plan each shot. Through pre-visualisation, we can ensure that the shots are tailored to the specific camera being used, guaranteeing they are both achievable and cinematic. This process builds confidence and ensures preparedness for shooting on-set.
9. Collaboration and communication
Virtual production often involves collaboration between various departments, including directors, producers, cinematographers, and visual effects (VFX) artists. Effective communication and collaboration are crucial to ensure that everyone is on the same page with the creative vision and technical requirements.
Fostering collaboration between the virtual production team and post-production is therefore key, as a seamless transition of data and assets from the virtual production stage to pos-production is crucial for maintaining the creative vision and ensuring a cohesive final product.
10. Match the physical with the virtual lighting
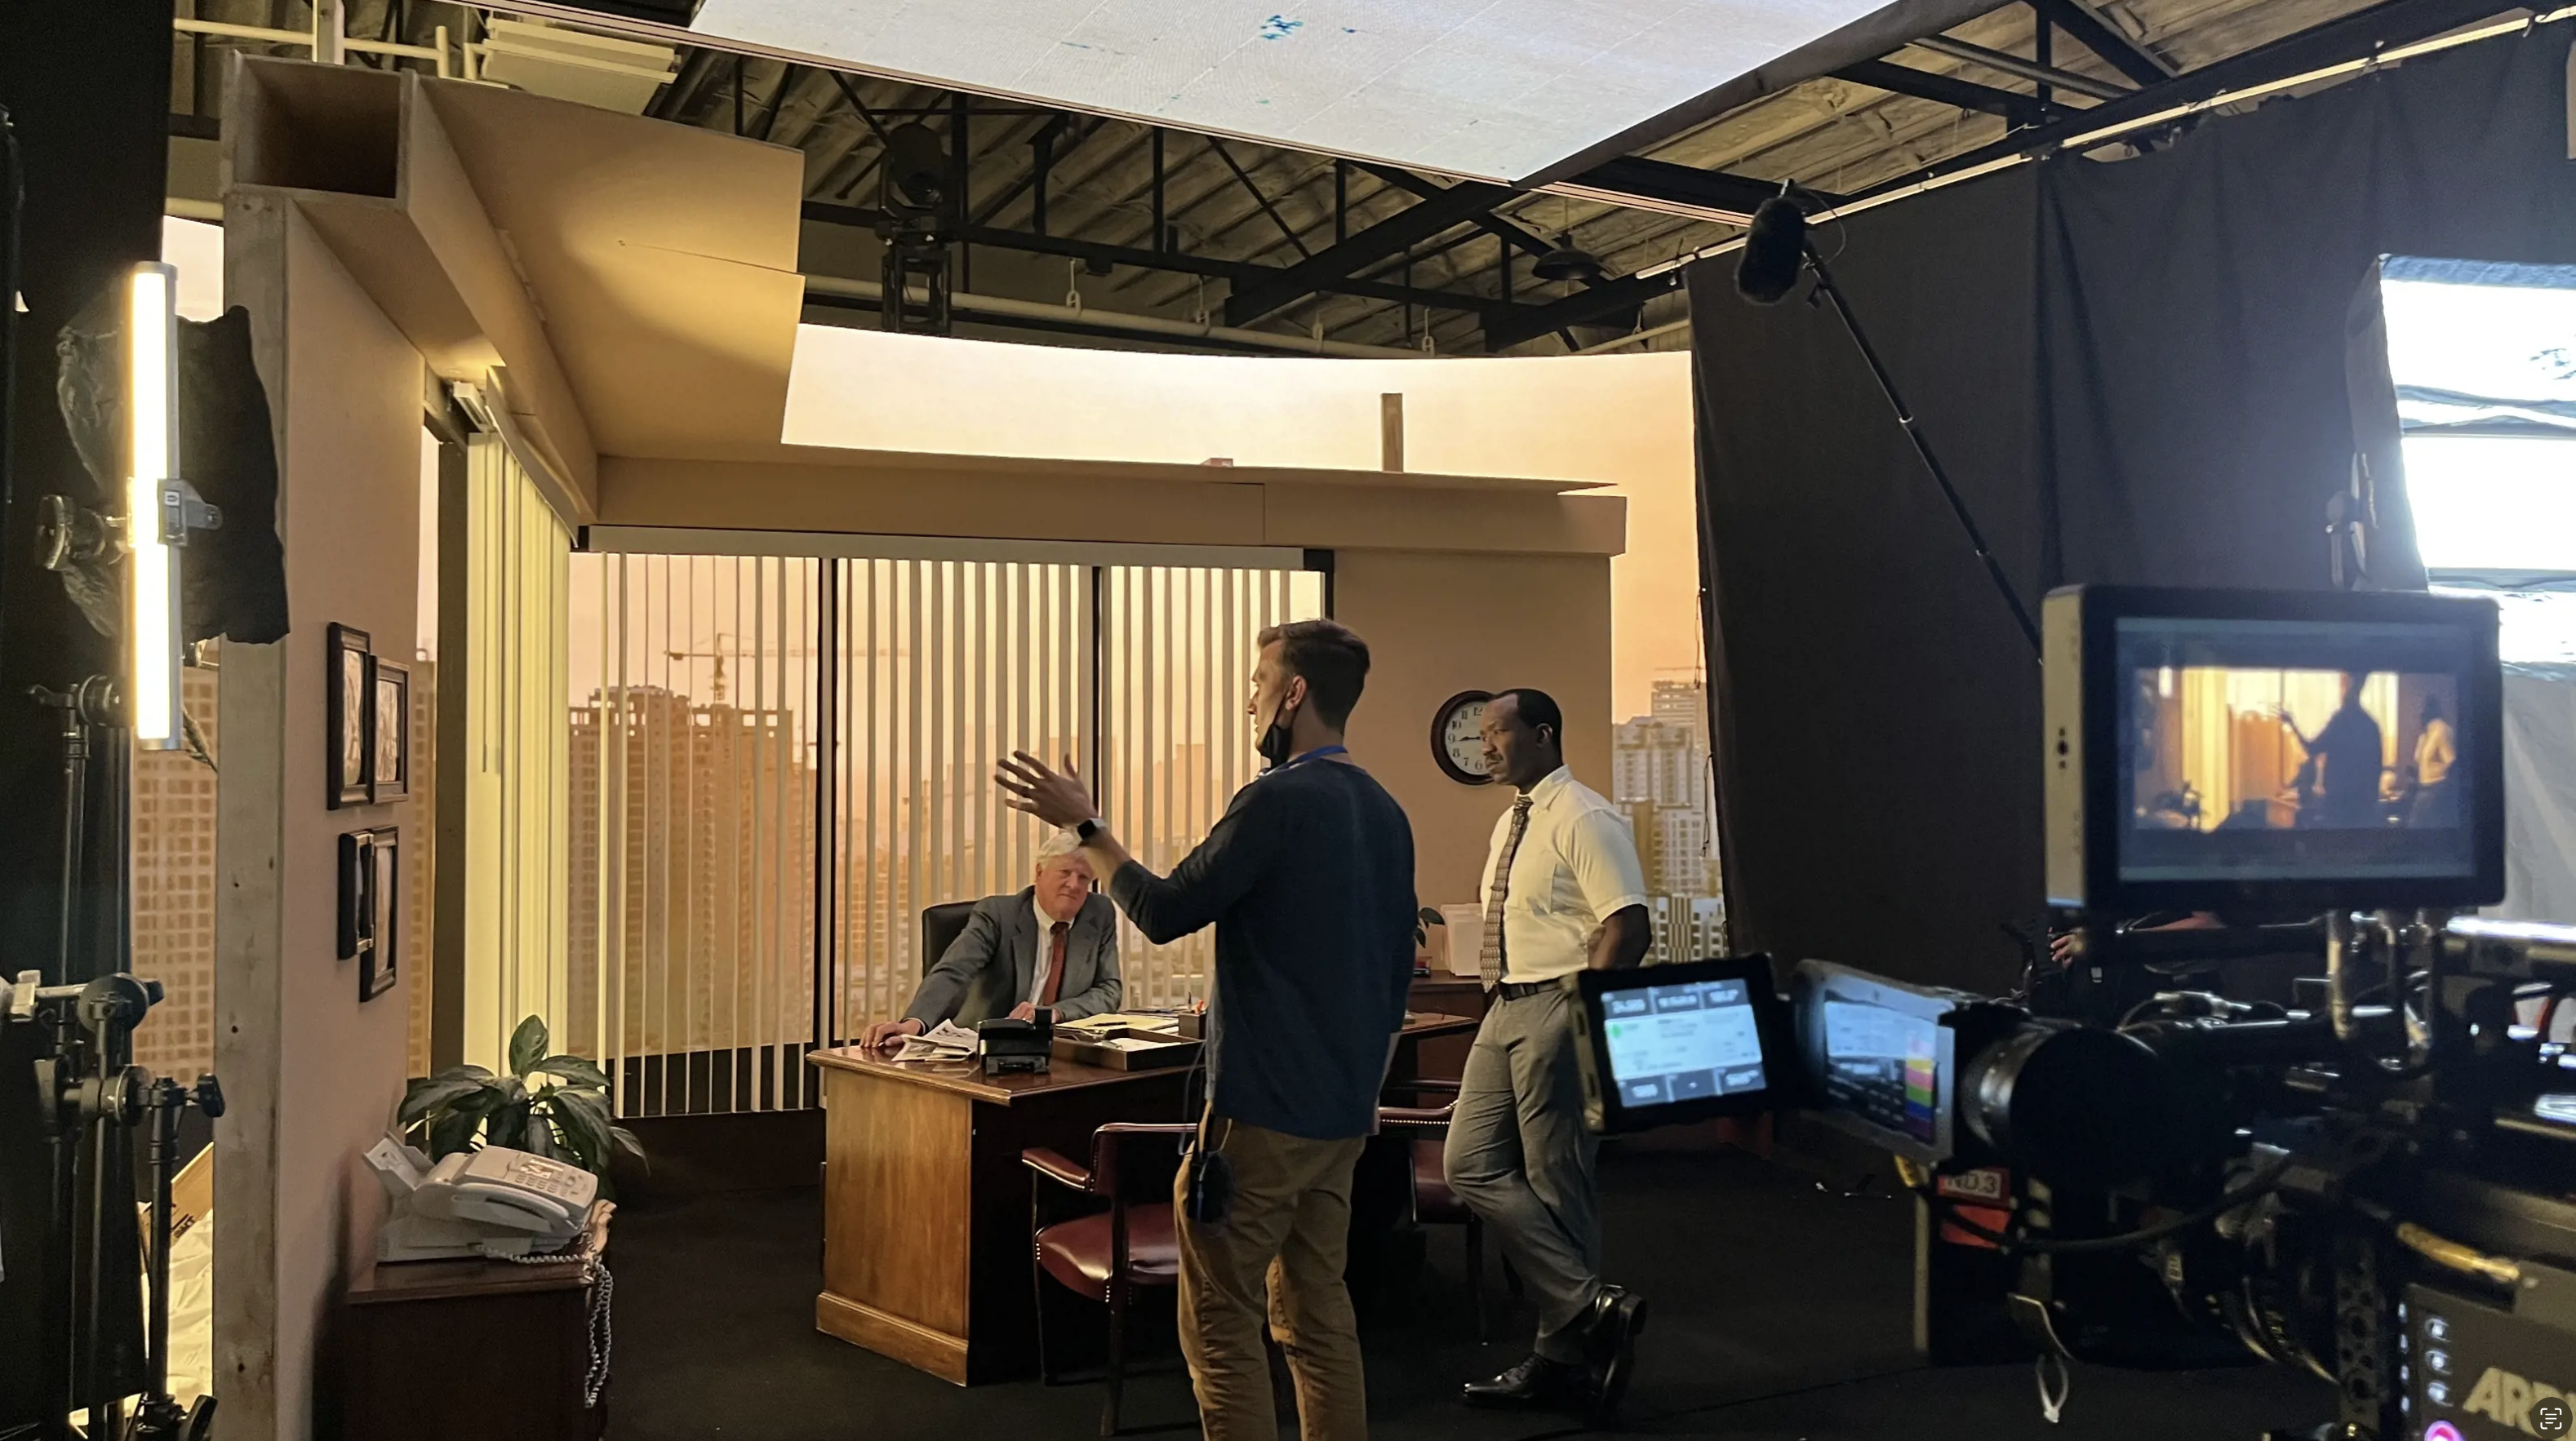
Lighting consistency is key in virtual production. Ensure the lighting between live-action elements and virtual environment is aligned by matching key aspects such as the directions of the main light source, the intensity and colour of key lights, and the intensity of fill lighting and shadows. This alignment is essential for creating a cohesive and realistic look when bridging realities.
11. Take advance of light reflections
One of the largest benefits of using LED stages is that light reflections off the LED volume are a desired side effect of LED virtual production, unlike the dreaded green spill that is part of using a green screen. The light reflections on actors, props, and set pieces aid in creating a cinematic feel, and help with consistent lighting across the virtual and physical space.
Reflective materials, such as metal, glass, or transparent materials, can be used in wardrobes or as objects throughout the production, without having to worry about keying out the green spill in post-production. Experiment with different materials and lighting techniques to discover unique and effective reflection techniques that might enhance the overall production quality.
12. Plan out your network accordingly
Well-planned networks are the backbone of successful virtual production. By carefully planning your networks, you can optimise data transfer, ensuring seamless communication and efficient operations. This strategic approach not only boosts productivity, but also fosters a robust digital environment that can adapt to evolving production needs.